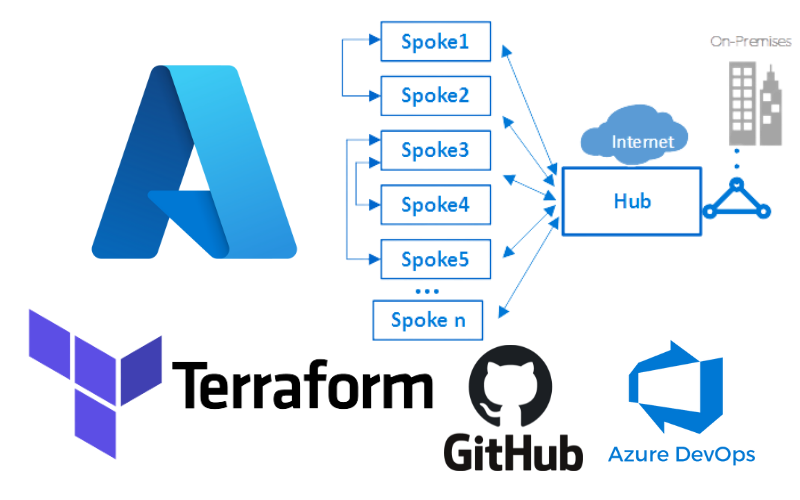
Welcome everyone to the second blog post in this series Terraform on Azure. In my previous post in this series, I walked through getting our Hub and Spoke network configured with Terraform.
In this post I will guide you through setting up an Azure DevOps pipeline that will automatically deploy our Terraform code!
The goal behind integrating the Azure DevOps pipeline is this allows deployment to our Azure environment with a commit to our Git repository.
Prerequisites
- Azure Subscription
- Azure DevOps Project Built (Parallelism enabled)
- Github Repository
- Azure AD Service Principal (We will set this up)
Service Principal Creation
First step in our journey is to set-up and configure a Service Principal within Azure AD. This will be used by Terraform to authenticate and provision resources within our Azure subscription.
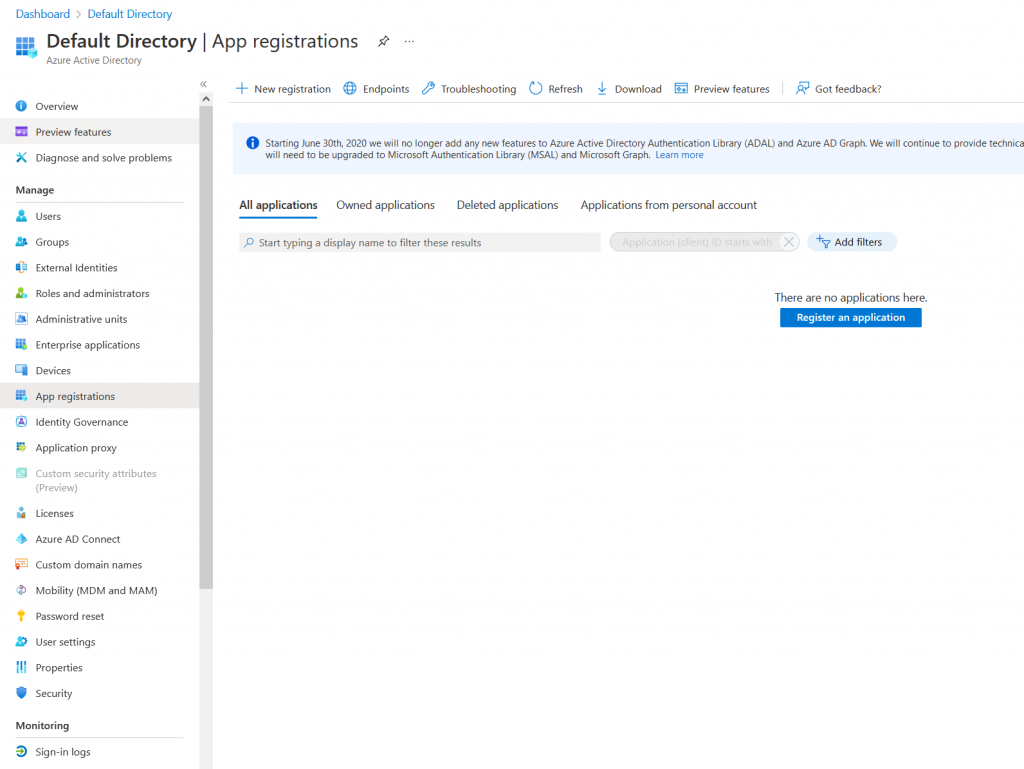
Head on over to Azure AD and click on the tab that says App registrations.
Go ahead and click register and application, name this service principal whatever you would like. This is going to be a single AAD tenant application so leaving the default settings for that is fine. There also is not going to be a redirect URI set-up.
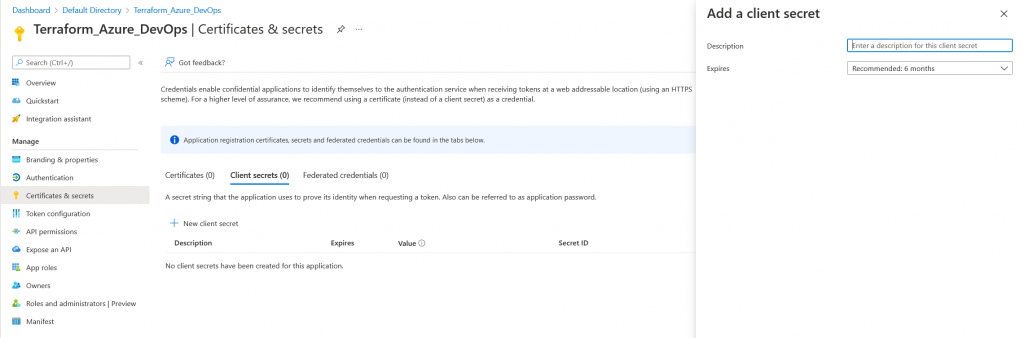
Now that we have created our Service Principle, we need to create a client secret for Azure DevOps. Head over to the application registrations, select the application you just created. And generate a new client secret.
NOTE – *KEEP THIS SECRET SECURE DO NOT PUBLICLY STORE THIS SECRET*
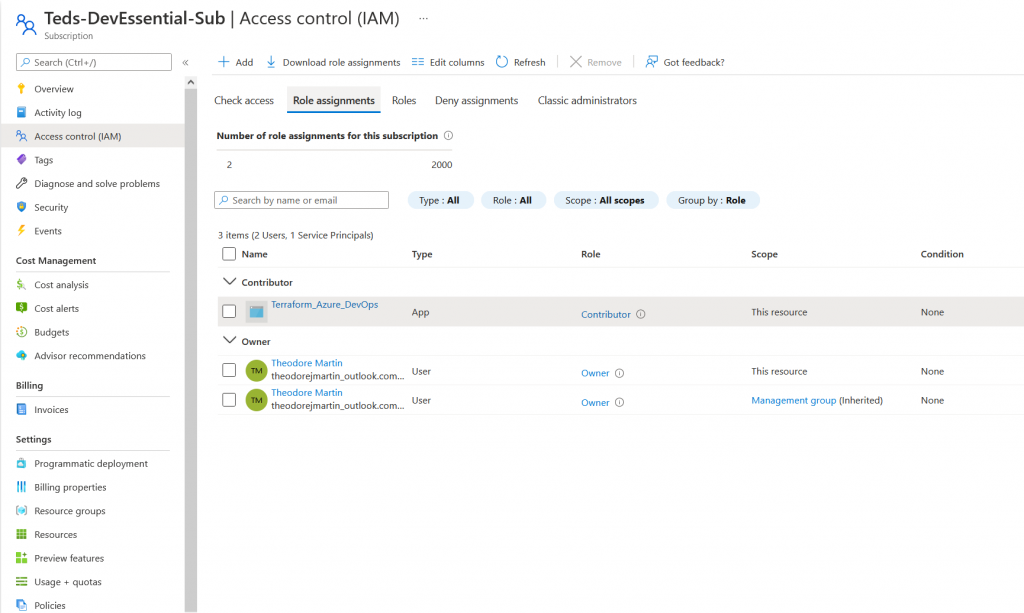
Excellent, now that we have this service principle set-up we have to grant the appropriate RBAC to our Azure subscription. Navigate to Azure and the subscriptions blade.
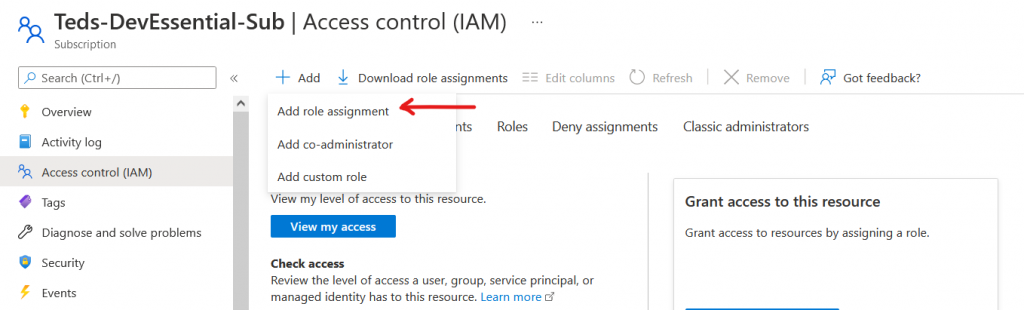
Next step is to create a role assignment, and assign contributor role to our existing service principle.
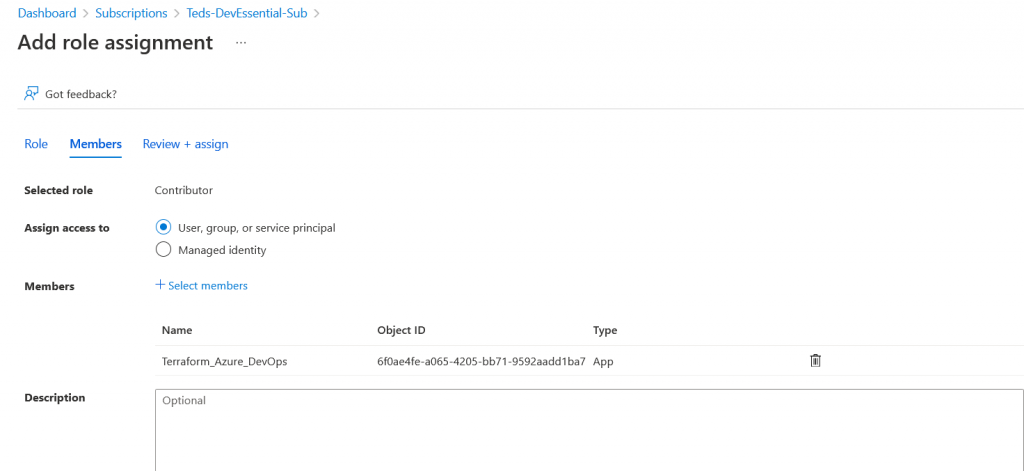
Select contributor within the role page, afterwards you can now select the service principle. It should look like the picture below.
Finally select review, assign and you’re good to go. This service principle can now contribute to the subscription. Now there are 4 values from this we need to save for later. These variables will come useful as well within our Azure DevOps environment.
ARM_CLIENT_ID:
ARM_CLIENT_SECRET:
ARM_TENANT_ID:
ARM_SUBSCRIPTION_ID:
Azure DevOps Setup
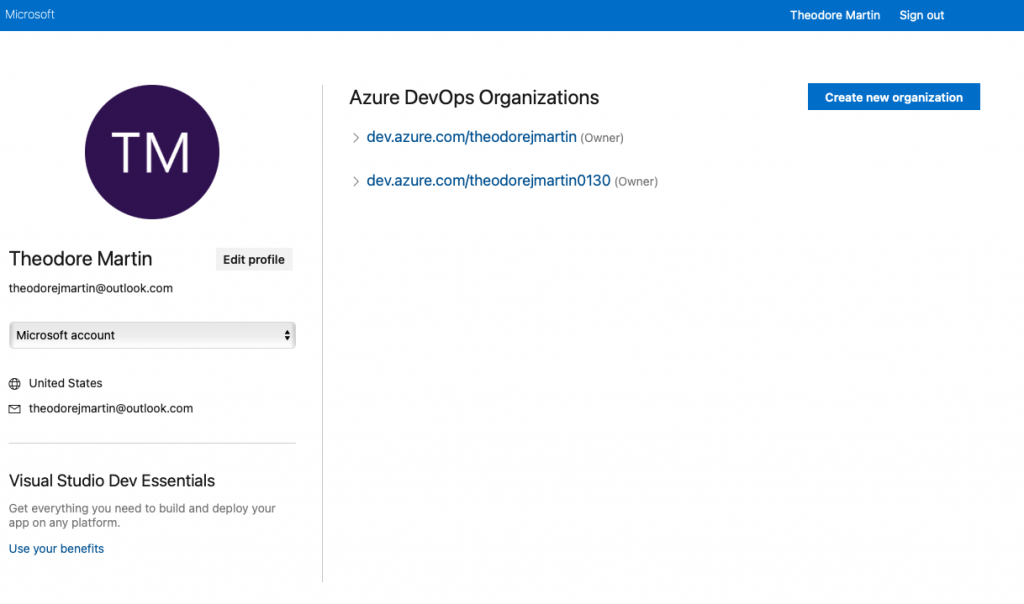
Our first step is to navigate to Azure DevOps Organizations within the Azure portal. Quickest way is search within the Azure portal, or this link.
Go ahead and create a new Organization, afterwards create a new project. Now that we’ve made it this far we must now set-up billing for parallel jobs. Parallel jobs are necessary to run pretty much anything with Azure DevOps.
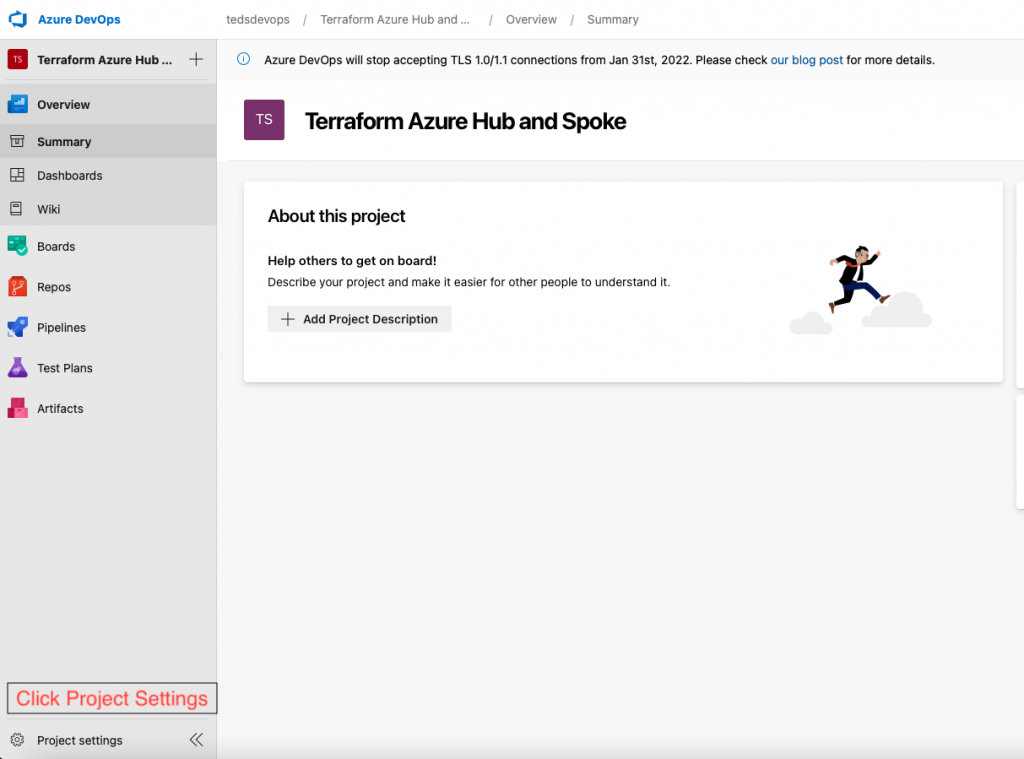
Select “Project Settings” then navigate to the “Parallel Jobs” section underneath Pipelines.
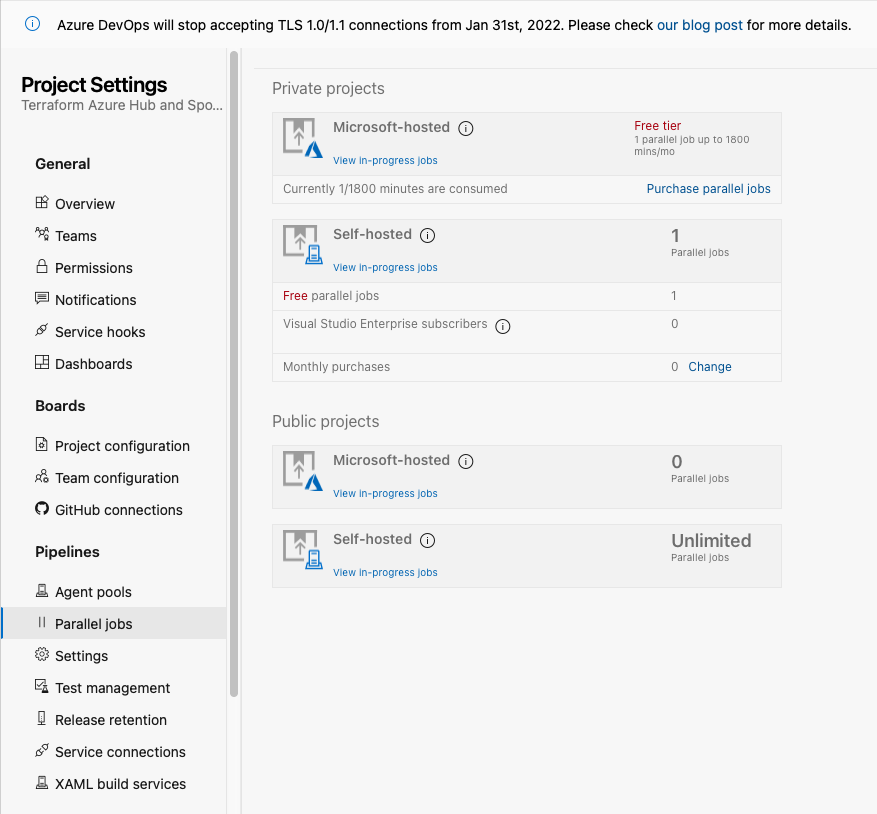
Next step is to select Purchase parallel jobs, select the appropriate Azure subscription to use for billing. 1 parallel job is more than enough for our testing.
However, I highly suggest filling out this form from Microsoft. It takes a couple business days, but this will approve you for a free 1800 minutes of private pipeline use per month. See this article from Microsoft if you would like more information on it.
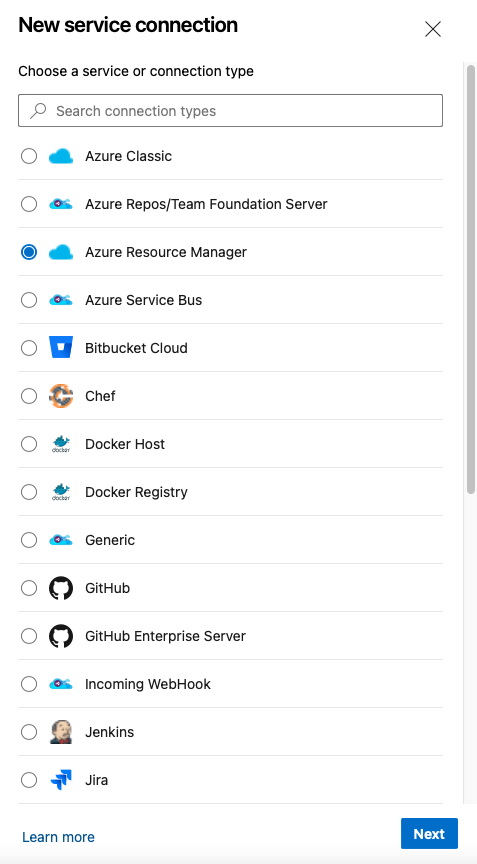
Azure DevOps Service Connections
Azure DevOps requires a service connection to both AzureRM and Github in for our Azure Pipeline to function. Setting this up is very simple, and requires a few OAuth2 authentications prompts.
First, let’s integrate with Github by clicking Project Settings in the bottom left corner. Afterwards, select Service Connections.
And…. Click the big Create Service Connection button.
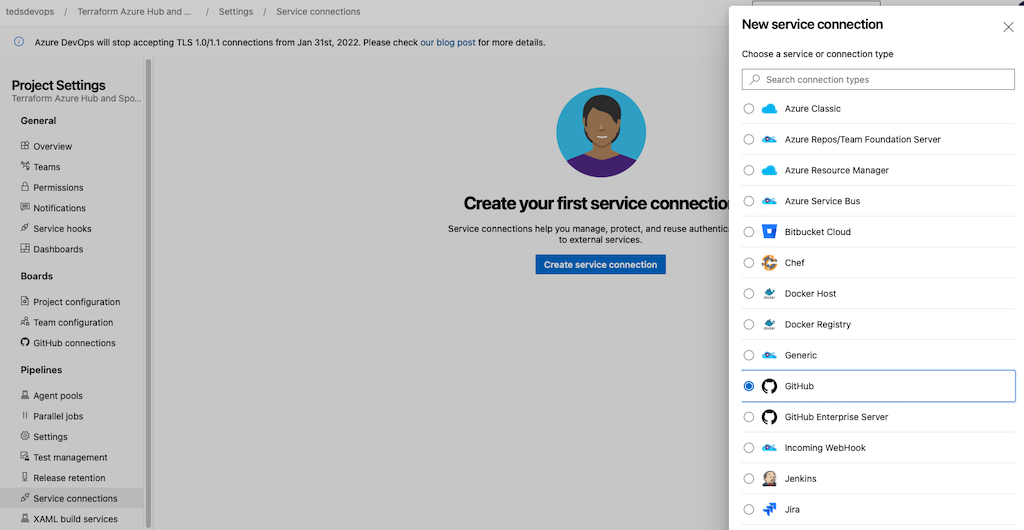
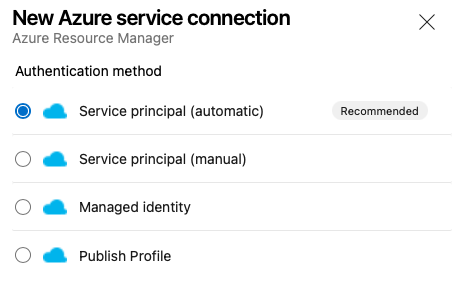
That process should be as simple as logging in, now let’s go ahead and integrate AzureRM into the mix as well.
Azure DevOps Pipeline YAML
With our Azure Pipeline integrated into the appropriate services, along with billing setup. The following step will be creating a YAML file that instructs Azure DevOps what we want to do.
Go ahead and create a new file in your directory called azure-pipelines.yaml.
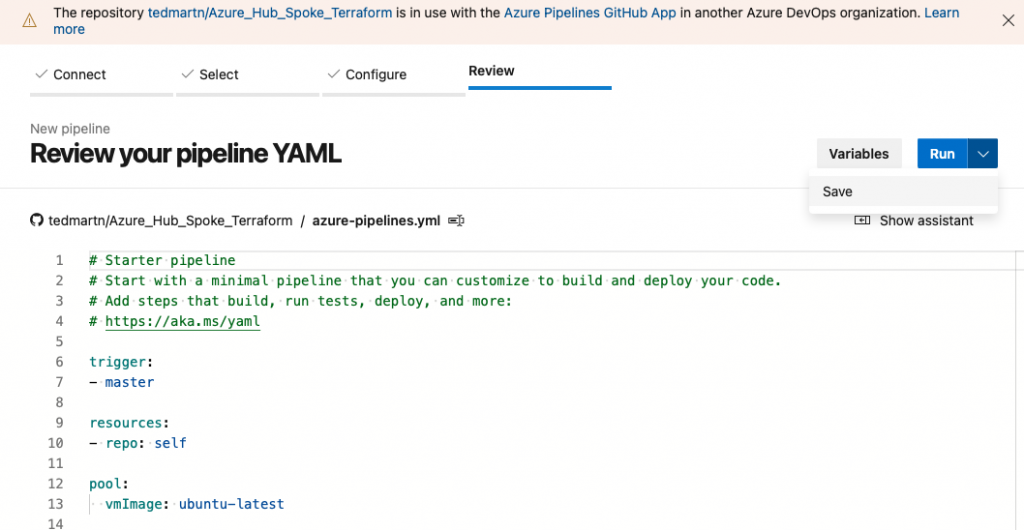
Copy the below text into this file, substitute the env values with the appropriate values from your service principal we created earlier.
trigger:
- master
resources:
- repo: self
pool:
vmImage: ubuntu-latest
stages:
- stage: Provision
displayName: 'Terraforming on Azure'
jobs:
- job: Provision
displayName: 'Provisioning Hub and Spoke'
pool:
vmImage: ubuntu-latest
variables:
- group: TerraformEnvVars
steps:
- script: |
set -e
terraform init -input=false
terraform apply -input=false -auto-approve
name: 'TerraformRun'
displayName: 'Run Terraform'
env:
ARM_CLIENT_ID:ID From Service Principal
ARM_CLIENT_SECRET:ID From Service Principal
ARM_TENANT_ID:ID From Service Principal
ARM_SUBSCRIPTION_ID:ID From Service Principal
Azure DevOps Variable Groups
If you notice from the YAML file above, the variables for our service principle are calling a variable group TerraformEnvVars.
Well now we have define this group in Azure DevOps for our Pipeline to function properly.
Select Library underneath Pipelines within DevOps to start this process.
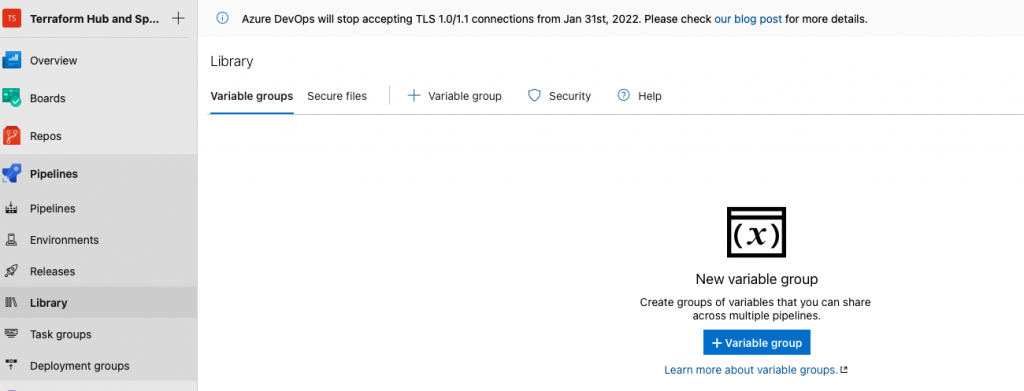
Input the values from the service principle we created earlier, into these variables below.

Azure DevOps Github Integration
Now let’s grant the azure pipeline access to your GitHub repo. This is accomplished by OAuth2, and very easy to set-up. First navigate to the marketplace in Github. Next search for “azure pipelines”.

Finally with all of the pre-requisites complete the Azure Pipeline can be created. Navigate to Azure Pipelines, then click Create a new Azure Pipeline.
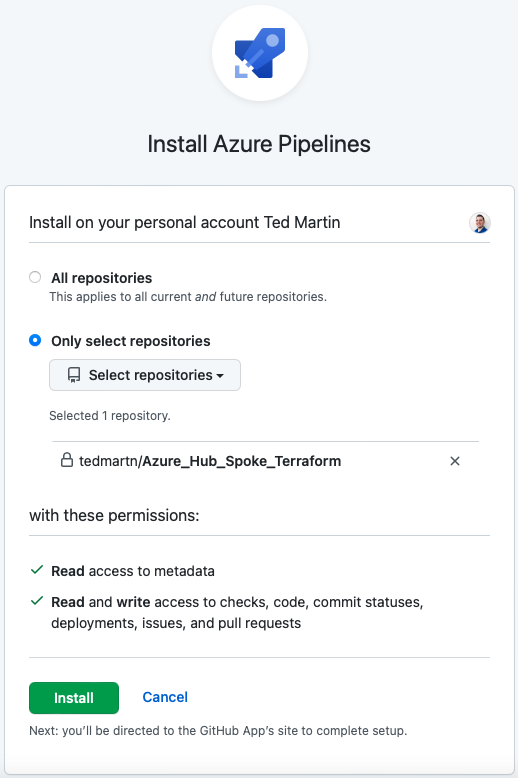
Always follow best practice and ONLY allow the pipeline access to the repo that it NEEDS, in my case just the Azure Hub and Spoke repository.
Now with all of these steps out of the way, the next step will be building out our Azure Pipeline. Lets do this!
Azure DevOps Pipeline Creation
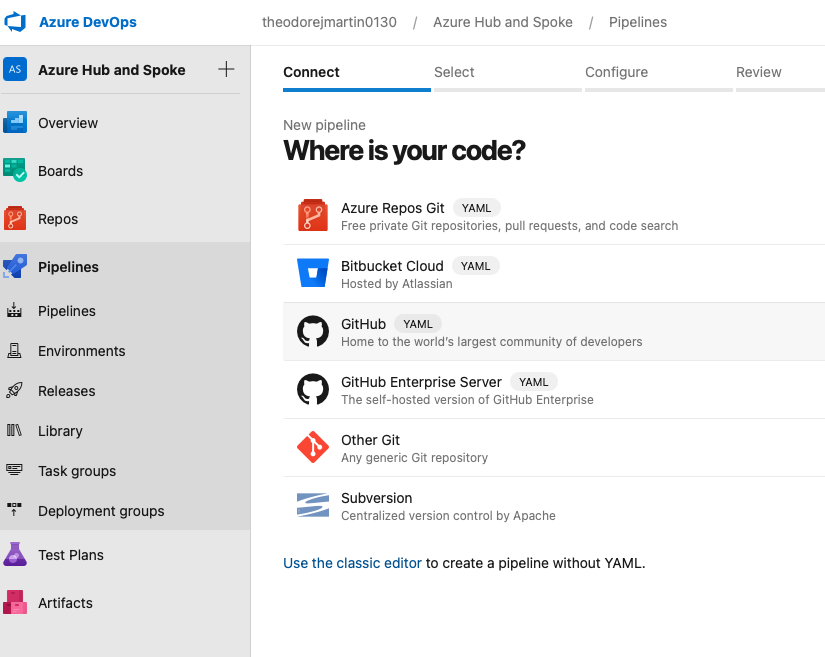
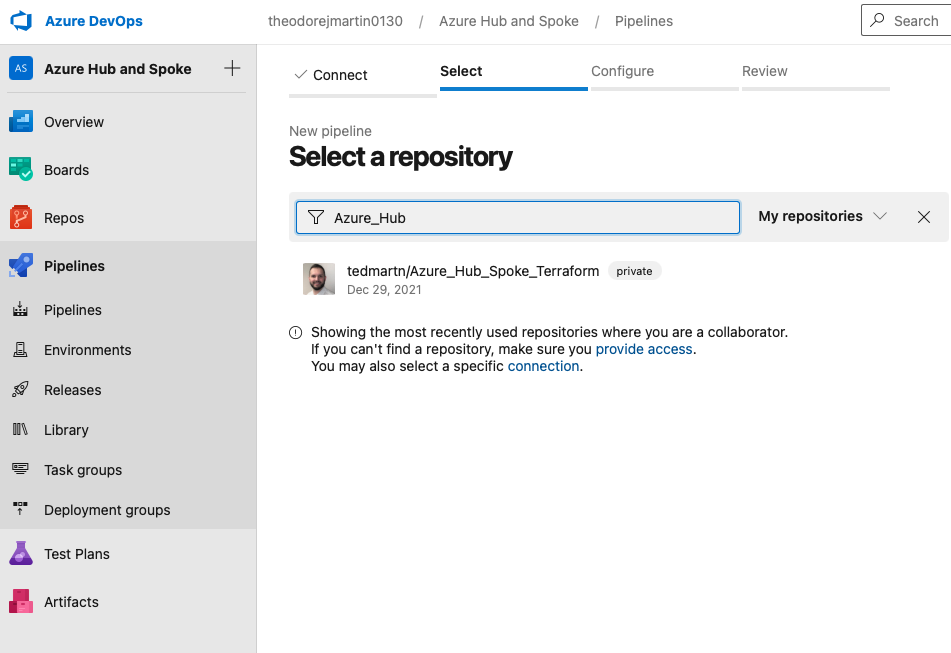
Select Github, then search for your repository containing the .TF and .YAML files required.
Next, let’s save this configuration!
The Azure Pipeline should now be created, let’s run this bad boy! Go ahead and just run it without a commit comment, now you will be prompted to provide the pipeline more permissions.
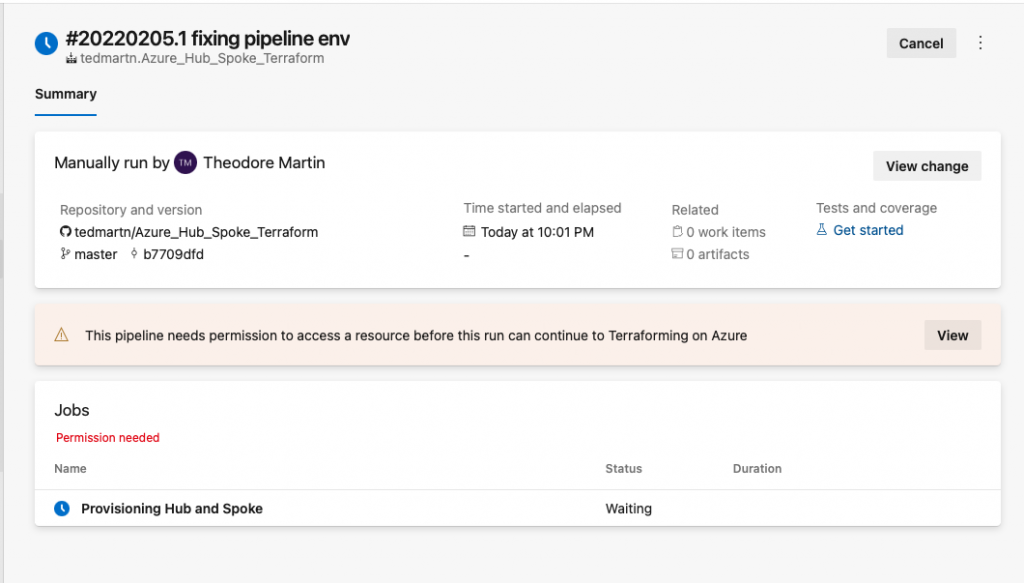
The Azure Pipeline should now be created, let’s run this bad boy! Go ahead and just run it without a commit comment, now you will be prompted to provide the pipeline more permissions.
Select, view. Then click view, then permit + permit. Now the Azure Pipeline to access the variable group. Use the below picture as a useful reference.

Afterwards, give it like 1-1.5 minutes to run the Terraform within the Azure Pipeline. When it’s done you will be presented with a couple satisfying green check boxes.
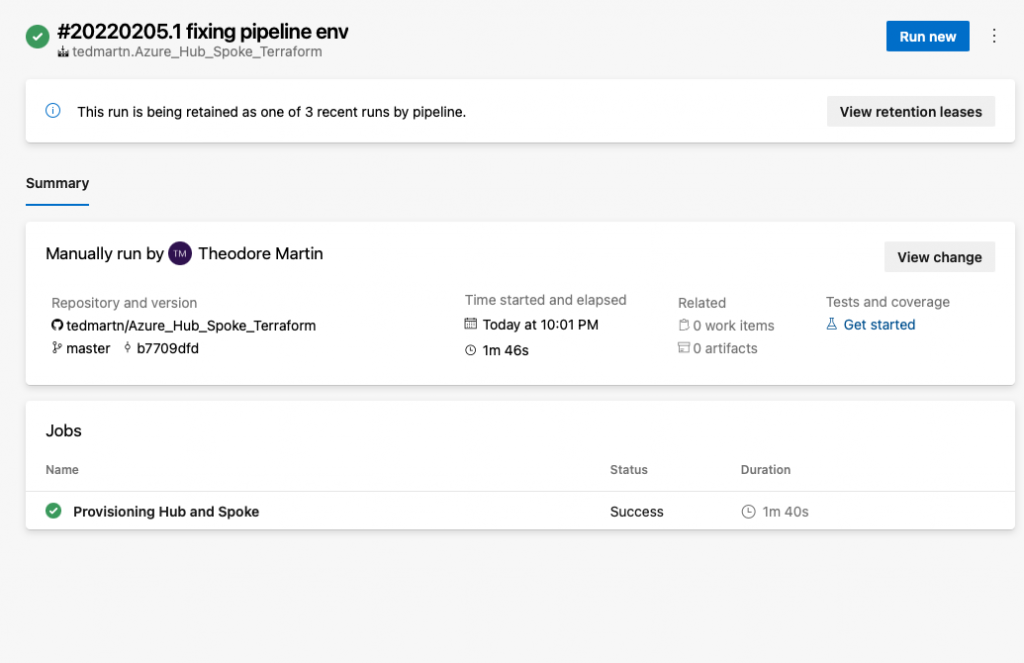
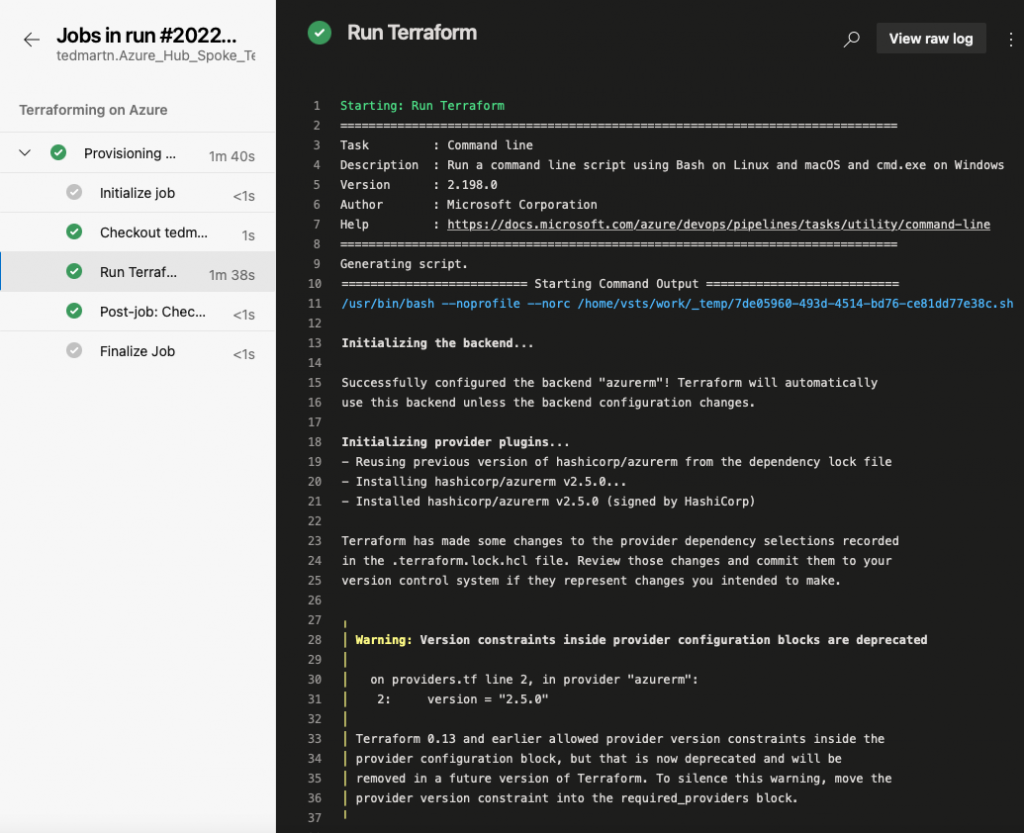
Heck yes! You did it! Our Azure Pipeline has provisioned infrastructure directly into our Azure environment. I recommend diving into the pipeline job itself, and seeing what actually occurred during that 1 minute + 40 seconds.
Finally, let’s head to Azure to verify that our virtual networks were created. The resource group useast-network-rg should be created within your subscription containing these resources.
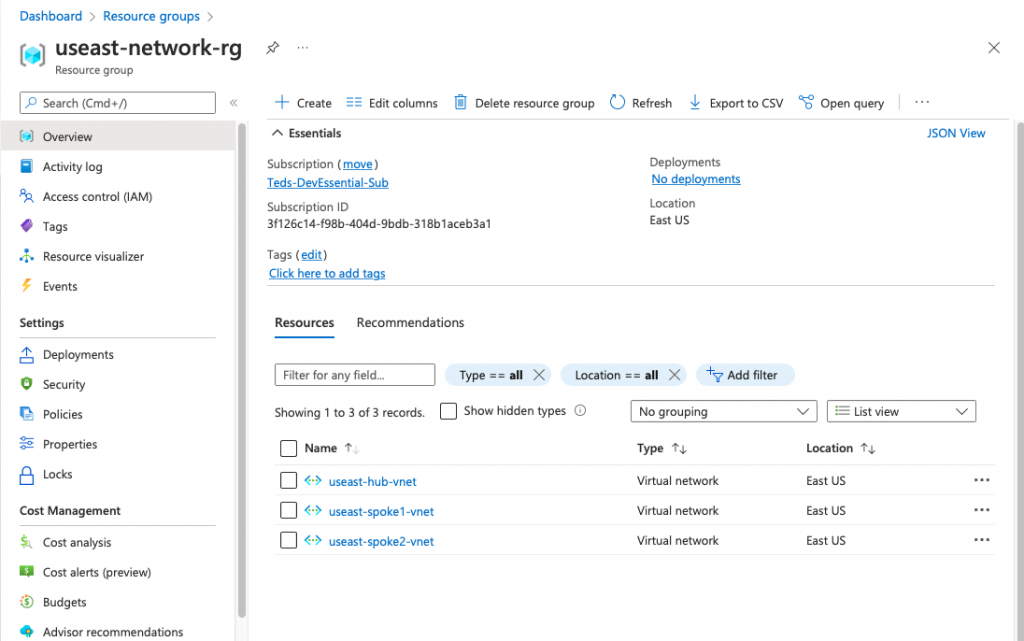
How freaking cool is that? What is even cool is now that this Azure Pipeline is integrated with our Github Repo. This line of code within our YAML file will trigger the pipeline upon any live commit to the repo. What this means is any changes committed to our repo will be built out automatically.
Let’s continue to leverage the power of this technology as this blog series progresses. I hope you enjoyed this blog post, I look forward to any feedback and I am excited to keep this series going!
Thanks, Ted